A webcast may seem quick to set up - at least in theory. In practice, it takes more: good timing, coordinated content, and a reliable setup. When everything comes together, your webcast won’t just be informative - it will feel professional and engaging. In this post, we’ll guide you step-by-step through preparing a webcast. No jargon, just clear tips and concrete actions.
Why We Know What We’re Talking About
We have supported companies, agencies, and speakers for years in planning and running digital events. From brief expert talks to multi-hour live productions with audiences. Along the way, we’ve seen what works - and what doesn’t.
Today, we’re sharing practical tips we use every day when producing webcasts for our clients. You can trust these steps - they really make a difference.
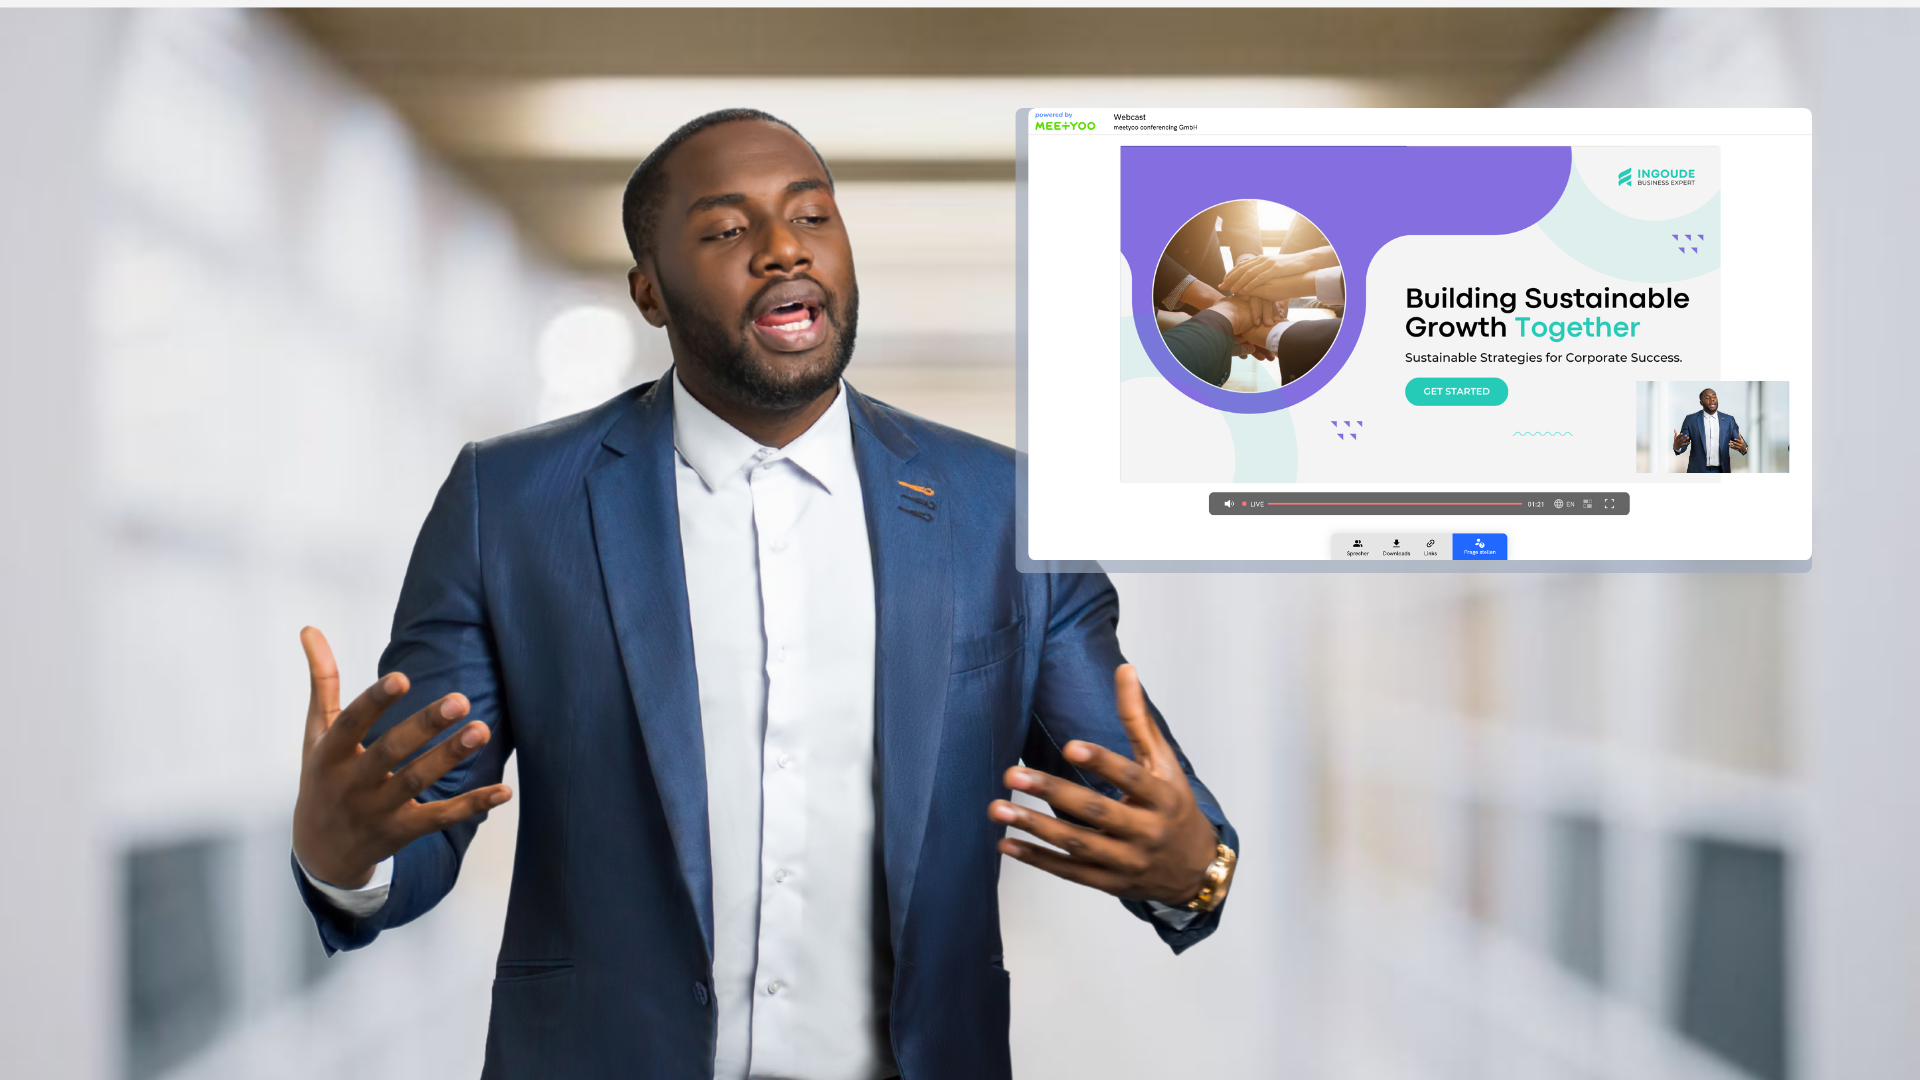
1. Start with the Design
A consistent look builds trust. Your audience instantly sees a professional team behind the webcast. To make that happen, prepare a few things early:
- Logo: Ideally a PNG or SVG in high resolution with a transparent background.
- Colors: Your primary and secondary colors in HEX or RGB format.
- Intro/Outro: Short videos (like an animated logo) in MP4 format, preferably 16:9 aspect ratio.
- Lower Thirds: For speaker names, titles, and companies. If you have different roles (e.g., host, guest), prepare a template for each type.
Our tip: Send all design assets to your tech team early. That leaves time for implementation and fine-tuning.
2. Plan and Submit Content Early
What you say and show in your webcast matters. Content only works if it’s prepared well—not last minute.
Keep these in mind:
- Agenda: Publish it on the registration page. Participants then know what to expect.
- Presentations: Submit as PDFs in 16:9 format. Videos embedded inside should be sent separately.
- Additional Videos: Welcome messages, teasers, product demos, or short statements. MP4, 16:9, clear sound, 1–2 minutes max.
- Scripts: Prepare a few lines for greetings, transitions, and closing remarks. This gives your host confidence and avoids on-the-spot wording.
Plan to submit your final content at least 3 to 5 business days before the event. This allows time for tech checks and adjustments.

3. Use Interactive Features Wisely
A good webcast isn’t one-way. Letting your audience engage boosts attention and helps the message stick. The tech is usually ready - just know how to use it best:
- Live Polls: Prepare your questions and answer options. Open or multiple-choice - both work. Place polls at fitting moments.
- Audience Questions: Allow questions beforehand or live. Many tools let participants vote on questions.
- Q&A Segments: Schedule enough time. If speakers know what questions to expect, they’ll answer more confidently.
The better you prepare interactivity, the livelier your webcast - and the stronger your connection with the audience.
4. Offer Downloadable Materials
Your webcast doesn’t have to cover everything live. Some content works better as follow-up downloads - especially complex topics or additional info.
Good download options include:
- Brochures, factsheets, whitepapers: PDFs under 10 MB for quick downloads.
- Product data or price lists: Clear, structured, concise.
- Links to related articles, videos, or tools - if you suggest next steps.
Make downloads easy to find below the video, in chat, or as a post-webcast follow-up. This ensures your content gets used, not just seen.
5. Collect Speaker Info Early
A strong presentation starts with good preparation. Gathering key speaker details early creates a professional setup and avoids last-minute questions.
You’ll need:
- Name, title, and company - exactly as they should appear on lower thirds or in introductions.
- Short bio: Two sentences explaining who they are and why they’re the right fit.
- Portrait photo (optional): Not required, but useful for invitations or event graphics.
Our tip: Provide speakers with a checklist of what you need. It saves time and shows you’re organized.

6. Communicate Timings Clearly
Tech checks, rehearsals, deadlines - a solid schedule is half the battle. Agree on it early with everyone involved.
Set these dates:
- Final content deadline: At least 3–5 business days before the event to leave buffer for tech checks.
- Rehearsal and tech check slots: 30 to 60 minutes depending on scope. Coordinate with speakers on availability.
- Webcast length: A realistic schedule helps everyone prepare - from tech to hosts.
Most importantly: stick to agreed times. In live productions, every detail and minute counts.
7. After the Webcast Comes Before the Next
A webcast doesn’t end with the last word. Use the momentum for feedback, follow-ups, and future content.
Get more from your event by:
- Feedback surveys: Short, clear, anonymous - best right after the event for honest input.
- Media library: Share the recording for those who missed it or want to revisit key points.
- AI assistant, podcasts, and more: Plan additional content. Let our AI assistant spot key themes, create highlight clips, and suggest formats.
This builds lasting value for your team and audience.
Conclusion: Prepare Well, Stay Calm Live
A professional webcast doesn’t happen by chance. But with a clear plan, the right questions, and the right tools, it gets much easier.
Prepare content carefully, align timings, and involve your speakers early. That sets you up for a smooth run. Our AI assistant can support you through every stage—from gathering materials to timing and follow-up.
Try it yourself: 👉 Get started now.
Or read more: 👉 6 Must-Have Features for a Professional Webcasting Platform